No-Knead Artisan Bread (The Only Bread Recipe You Need)
The perfect yeasted bread recipe and the only recipe you need to bake great artisan loaves at home.
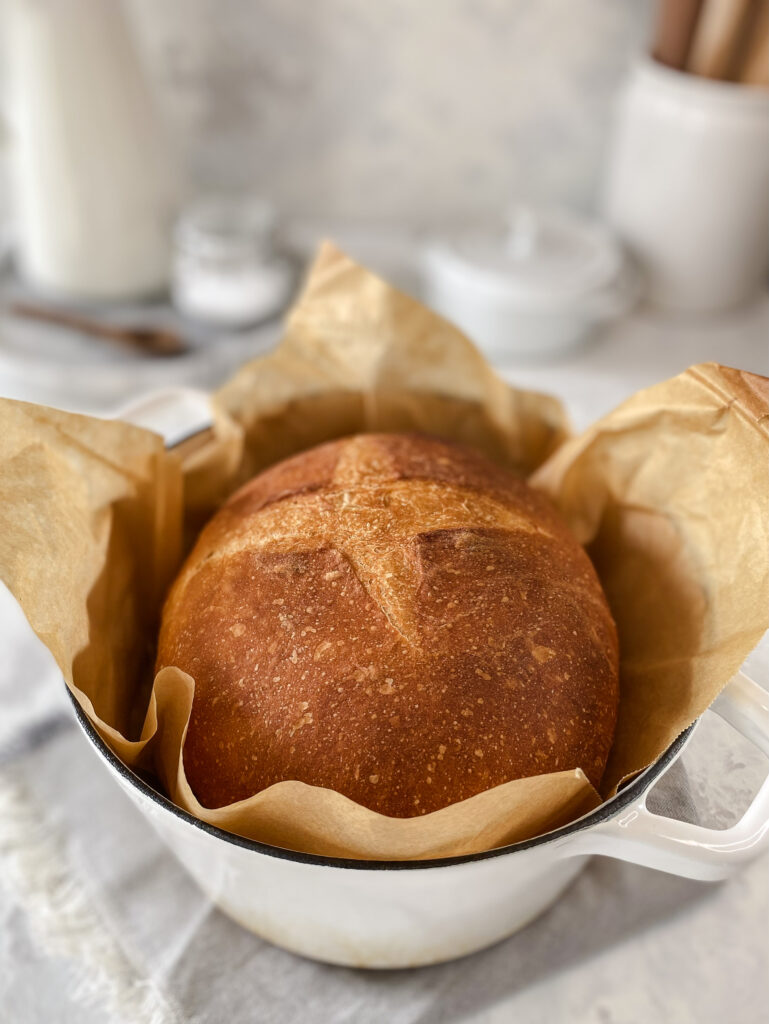
If I could only make one bread recipe, it would be this No-Knead Artisan Bread. No contest!
It’s so easy to make with only 4 ingredients, no-kneading, and a flexible baking schedule. After the first rise it can be shaped for same-day baking or moved to the fridge overnight (for up to 3 days) to bake later. PLUS, it’s super tasty and checks all the boxes for what I’m looking for in a yeasted loaf, it’s soft and airy with a chewy, crackly crust.
4 Ingredient Artisan Bread
Just 4 basic ingredients you likely always have on hand:
- Water: Start with warm water, between 110-115°F to activate the yeast and kickstart the fermentation process. When it comes to water temperature, think of it in the same terms that you think of your baking environment: your bread wants a nice warm environment to rise in (not too hot, not too cool). The same theory applies here. Too hot and you risk killing the yeast. Too cool and the yeast will be slow to activate and your dough will be slow to rise. With warm water your yeast will work quicker, your dough will rise more consistently, and you’ll have bread sooner than with cool water.
- Active Dry Yeast: Since we’re using active dry yeast we need to rehydrate it prior to mixing in the flour. Sprinkle the yeast over the water and let it sit for 10 minutes to rehydrate and activate it. To use Instant Yeast, reduce the amount of yeast to ¾ teaspoons (about 25% less than Active Dry Yeast) and reduce the rising time from 1-2 hours down to 45-90 minutes as it will double in size more quickly.
- Bread Flour: Gives this bread it’s nice high rise. Bread flour, which has a higher protein content than all-purpose flour, develops more gluten giving this bread the stretch and rise it needs to make a nice round loaf.
- Salt: Not only does salt add flavour, it also performs some pretty key functions when it comes to gluten development, fermentation, and caramelization; making it an essential ingredient in this recipe and bread making in general.
How to make no-knead artisan bread
Grab your ingredients, a bowl and a spoon or spatula, and let’s get baking!
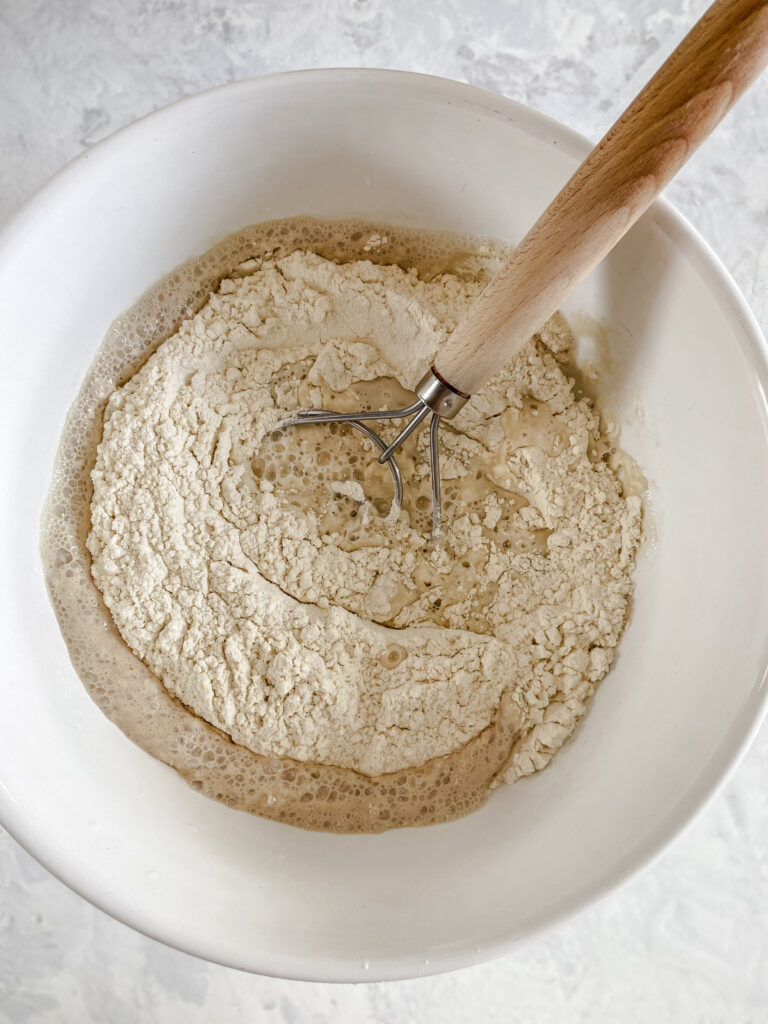
- In a large bowl, add the water and yeast. Cover and let sit for 10 minutes to activate the yeast.
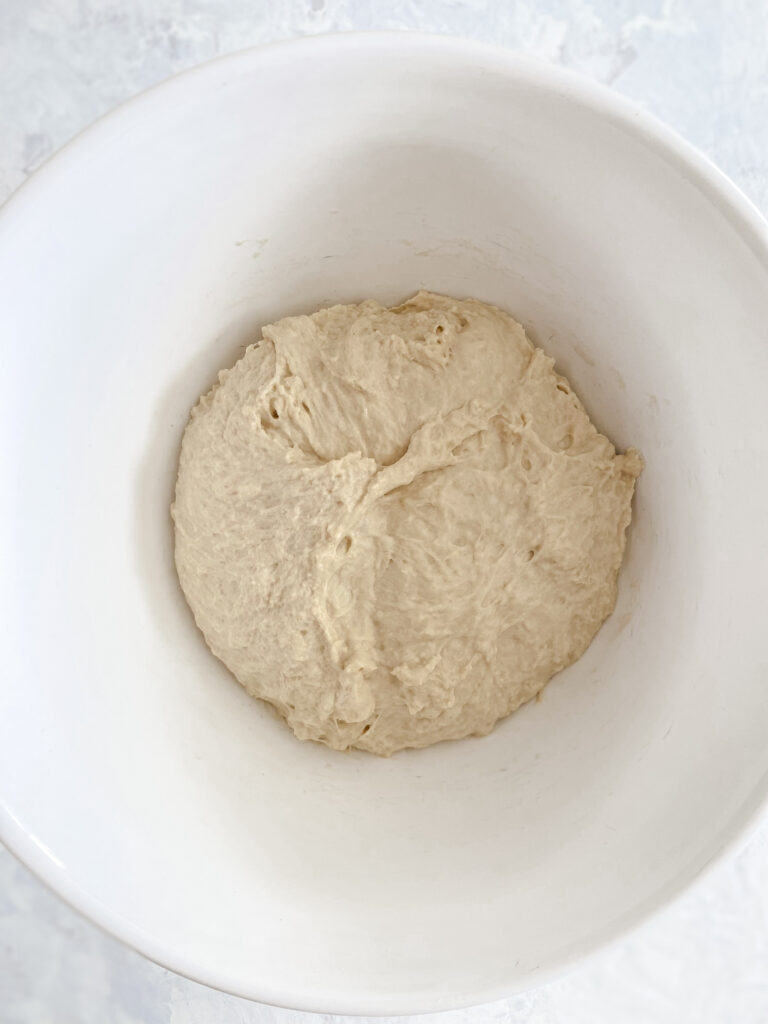
- Once the yeast is bubbly and foamy, add the flour and salt. Stir together until combined and the flour is well incorporated. The dough will be shaggy and very sticky.
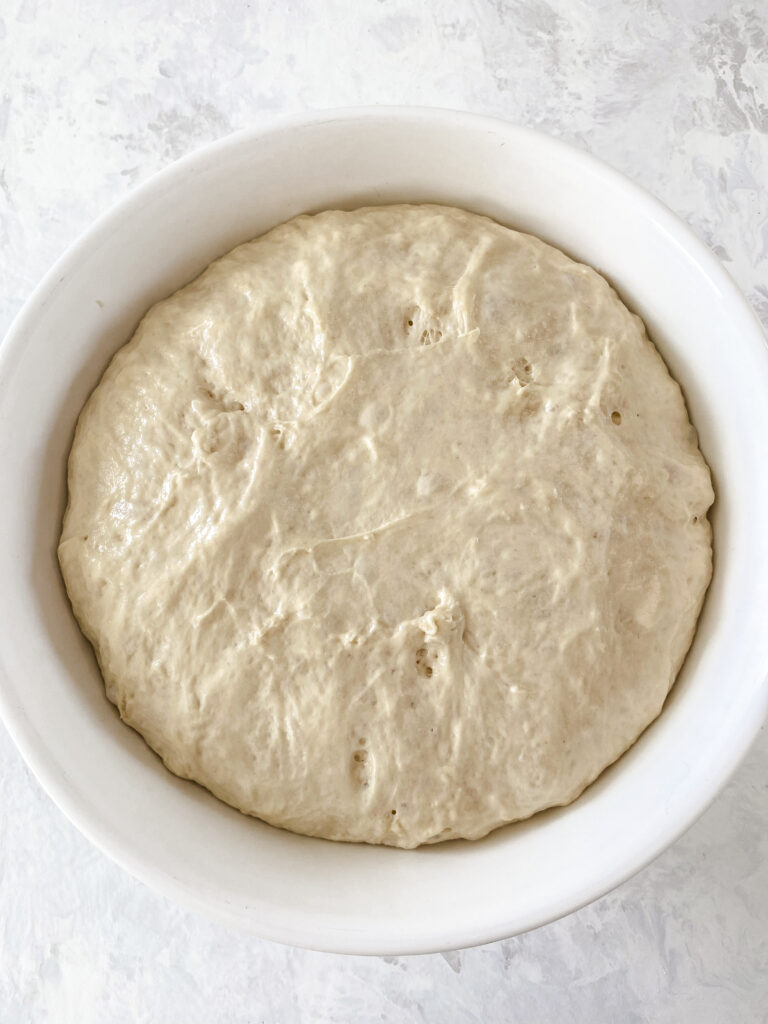
- Cover and let rise for 1-2 hours, until doubled in size.
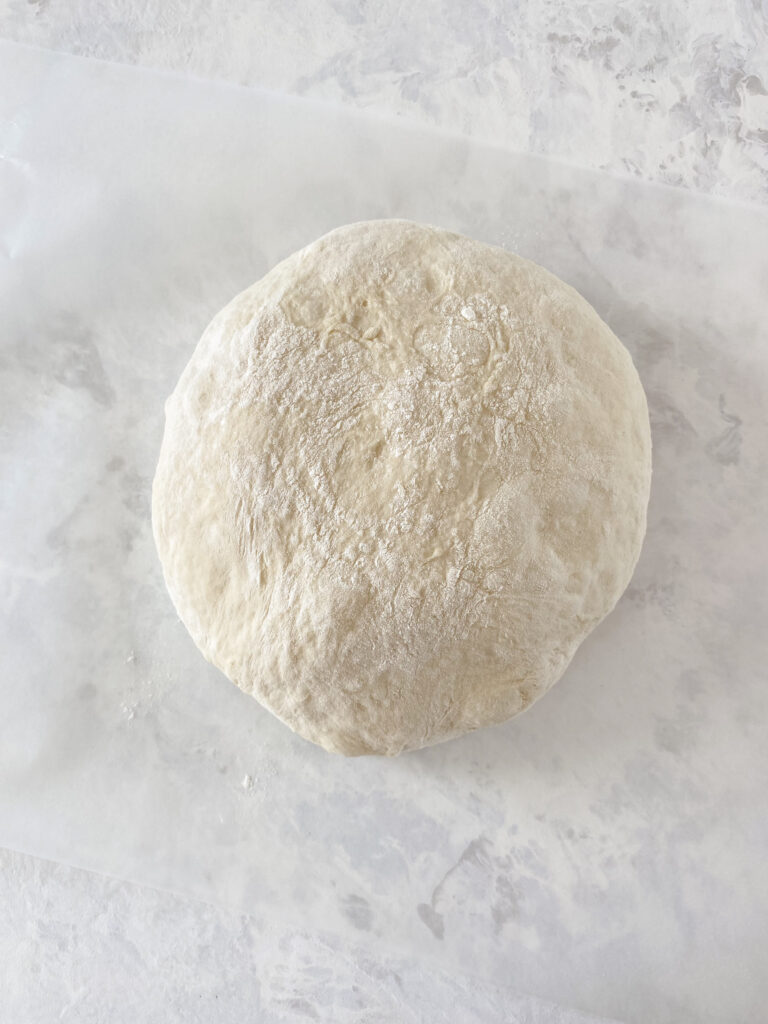
- Transfer the dough to a well floured surface and sprinkle the dough with flour. Shape the dough into a rough ball, folding in the sides towards the center.
- On a clean surface, turn the dough over (seam-side down). Using your hands, drag the dough across the countertop towards you or move the dough in a circle to build tension and create a smooth ball.
- Transfer the dough to a piece of parchment. Let rise for 40-45 minutes, until doubled in size.
- After 10 minutes, place a Dutch oven in the oven and preheat to 450°F.
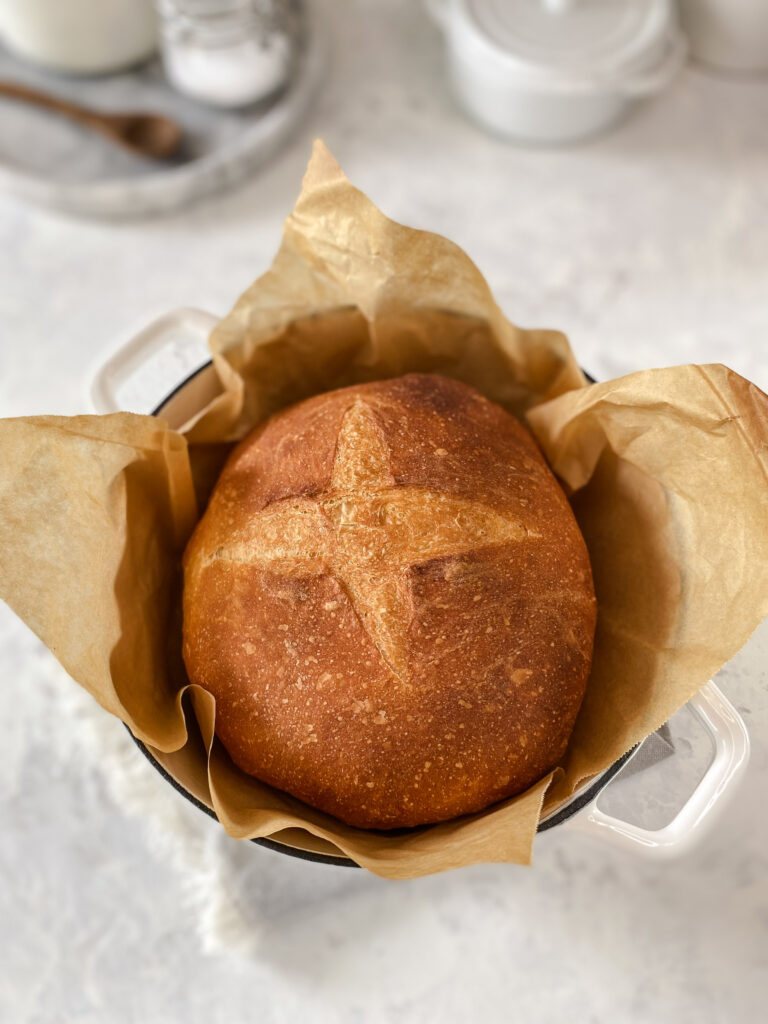
- Just before baking, score the dough. Lift the dough and the parchment into the Dutch oven.
- Cover and bake for 20 minutes.
- Remove the lid and bake for 10 minutes uncovered. The bread should be a lovely golden-brown and sound hollow when tapped on the bottom.
- Remove the bread from the oven and set it on a wire rack to cool for an hour before slicing.
Be patient! I know it’s hard to resist cutting straight into your fresh-from-the-oven loaf, but your bread is still cooking and setting up as it cools. Cutting into it too soon can leave your loaf with a doughy, gummy interior. If you absolutely cannot possibly fathom waiting a full hour (or longer), give it at least 20 minutes before breaking out the bread knife.
Make It Ahead
As I mentioned, one of the things I love about this no-knead artisan bread is that I can pop the dough in the fridge after the first rise and keep it there for up to 3 days before baking. Not only is this super convenient, but it also produces a more flavourful loaf thanks to the extended fermentation. To refrigerate the dough, after the first rise (before shaping) simply place the covered bowl in the refrigerator until you’re ready for it. To use the refrigerated dough, remove the dough from the refrigerator and proceed directly to preheating the oven (step 4) and shaping the dough (step 5).
No Dutch Oven? No Problem!
You can use a baking sheet, baking stone, or a loaf pan to bake this no-knead artisan bread.
- To use a baking stone, just follow the recipe as written and place the baking stone in the oven when you turn it on to preheat instead of a Dutch oven. When it comes time to bake, transfer the dough and parchment onto the baking stone and bake for 30 minutes.
- To use a baking sheet, once you’ve shaped the dough into a ball, transfer it onto a parchment-lined baking sheet to rise then bake for 30 minutes.
- To use a loaf pan, you’ll shape the dough into a loaf instead of a ball. You can do this by simply rolling the dough into a log before transferring it into a parchment-lined loaf pan to rise then bake for 30 minutes.
When using any of these alternative cooking vessels, after 20 minutes of baking I like to keep a close eye on my bread to ensure it’s not browning too quickly or unevenly. You may need to spin your loaf 180° to get it evenly brown on all sides. Regardless of the length of time spent in the oven, your bread is done when the internal temperature reads 200°F.
Baker’s Tip: Since none of these methods have lids to cover the loaf and trap steam inside, giving the bread a higher rise, you can simulate this by placing a baking sheet on the floor of the oven or the lowest oven rack. Then, when you transfer your dough to the oven, pour 1 cup boiling water onto the baking sheet and quickly close the oven door to trap the steam inside.
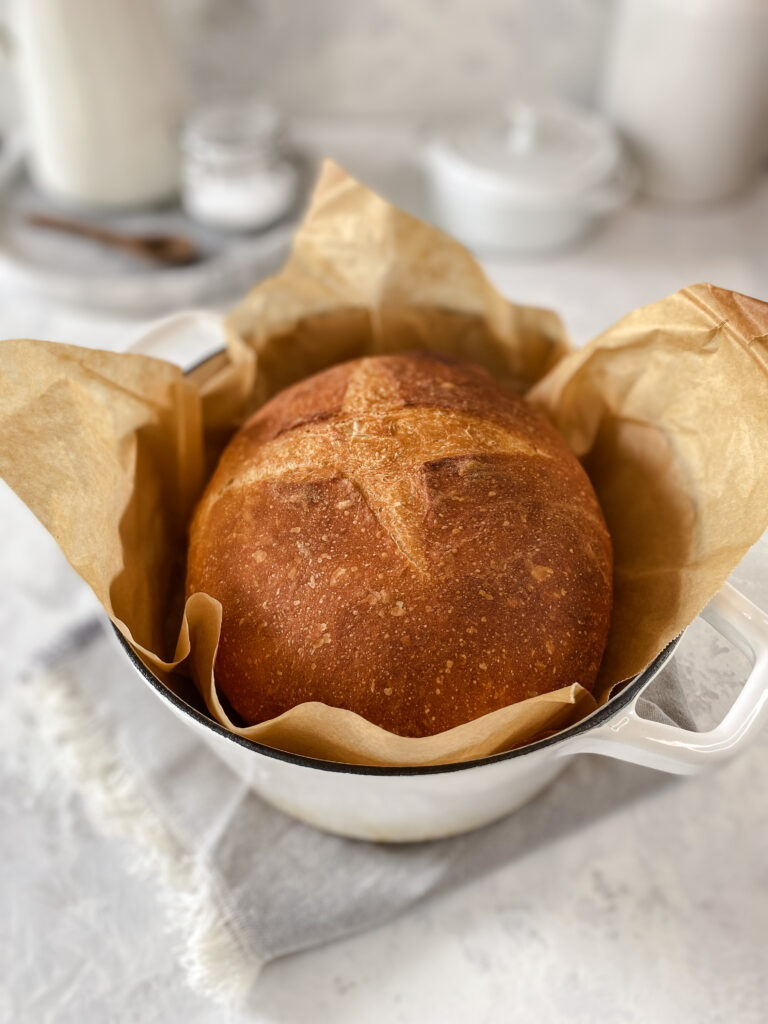
No-Knead Artisan Bread
Ingredients
- 1 cup water, 110-115°F
- 1 teaspoon active dry yeast
- 2 cups bread flour
- 1 teaspoon salt
Instructions
- In a large bowl, add the water and yeast. Cover and let sit for 10 minutes to activate the yeast.
- Once the yeast is bubbly and foamy, add the flour and salt. Stir together until combined and the flour is well incorporated. The dough will be shaggy and very sticky.
- Cover and let rise for 1-2 hours, until doubled in size.
- Transfer the dough to a well floured surface and sprinkle the dough with flour. Shape the dough into a rough ball, folding in the sides towards the center.
- On a clean surface, turn the dough over (seam-side down). Using your hands, drag the dough across the countertop towards you or move the dough in a circle to build tension and create a smooth ball.
- Transfer the dough to a piece of parchment. Let rise for 40-45 minutes, until doubled in size.
- After 10 minutes, place a Dutch oven in the oven and preheat to 450°F.
- Just before baking, score the dough. Lift the dough and the parchment into the Dutch oven.
- Cover and bake for 20 minutes.
- Remove the lid and bake for 10 minutes uncovered. The bread should be a lovely golden-brown and sound hollow when tapped on the bottom.
- Remove the bread from the oven and set it on a wire rack to cool for an hour before slicing.
Notes
Recipe adapted from Big Family Homestead.

